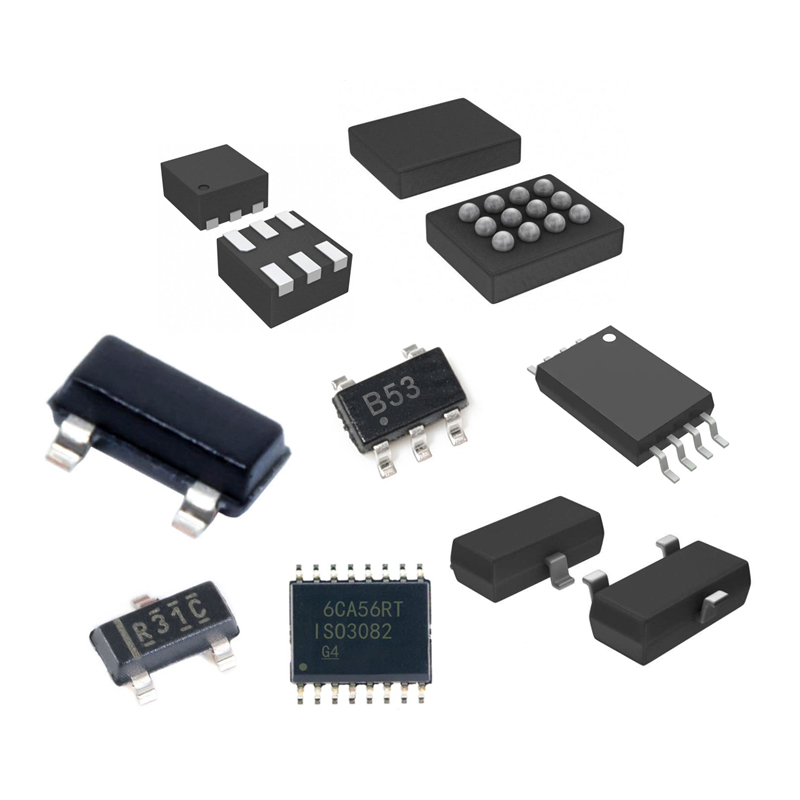
Assembling electronic components involves the process of connecting individual electronic parts to create a functioning circuit or device. This process is critical in manufacturing various electronic products, from simple gadgets to complex systems like computers and smartphones. Here are the key steps and considerations involved in assembling electronic components:
1. Preparation:
- Gather Components: Ensure all necessary components, such as resistors, capacitors, transistors, ICs (integrated circuits), and connectors, are available and organized.
- Tools and Equipment: Prepare tools like soldering irons, tweezers, magnifying glasses, and multimeters. For more advanced assemblies, machines like pick-and-place machines and reflow ovens might be needed.
2. PCB (Printed Circuit Board) Preparation:
- Design and Fabrication: The PCB, which serves as the backbone of the electronic assembly, must be designed and fabricated based on the circuit layout. This involves creating a schematic, designing the board layout, and manufacturing the PCB.
- Cleaning: Ensure the PCB is clean and free of dust and contaminants to avoid soldering issues and ensure good electrical connections.
3. Component Placement:
- Manual Placement: For small-scale or prototype assemblies, components are often placed manually. This requires precision to ensure components are correctly oriented and aligned with their designated pads on the PCB.
- Automated Placement: In large-scale production, automated pick-and-place machines position components onto the PCB with high speed and accuracy.
4. Soldering:
- Hand Soldering: Use a soldering iron to apply solder to the component leads and pads on the PCB. This method is common for through-hole components or small batch production.
- Reflow Soldering: For surface-mount technology (SMT) components, solder paste is applied to the pads, components are placed, and the assembly is heated in a reflow oven to melt the solder paste and secure the components.
- Wave Soldering: Used primarily for through-hole components in large-scale production, where the PCB is passed over a wave of molten solder to attach the components.
5. Inspection and Testing:
- Visual Inspection: Check for any visible defects, such as poor solder joints, misplaced components, or solder bridges.
- Electrical Testing: Use multimeters, oscilloscopes, or specialized test equipment to verify the functionality of the assembled board.
- Automated Optical Inspection (AOI): In large-scale production, AOI machines can quickly scan PCBs to detect defects.
6. Final Assembly and Enclosure:
- Assembly: After the PCB is assembled and tested, it is integrated into the final product, which may involve additional mechanical assembly steps.
- Enclosure: The final product is placed into its housing or casing, ensuring all parts fit correctly and are secured.
7. Quality Control and Assurance:
- Quality Checks: Implement stringent quality control measures to ensure each assembled item meets the required specifications and standards.
- Documentation and Traceability: Maintain detailed records of the assembly process, including batch numbers and test results, to ensure traceability and accountability.
Assembling electronic components is a meticulous process that requires careful planning, precision, and attention to detail. Whether performed manually or through automation, each step must be executed correctly to ensure the final product functions as intended. By adhering to best practices and maintaining high-quality standards, manufacturers can produce reliable and efficient electronic devices.
Eurotech is a worldwide supplier and exporter of electronic components, specializing in ICs, LCDs, Memory, Chips, computer parts, networking equipments and other passive components.
Tel: (86) 755 83952292
E-mail: global08@eurotech-ic.com
https://www.eurotech-ic.com/